Table of Contents
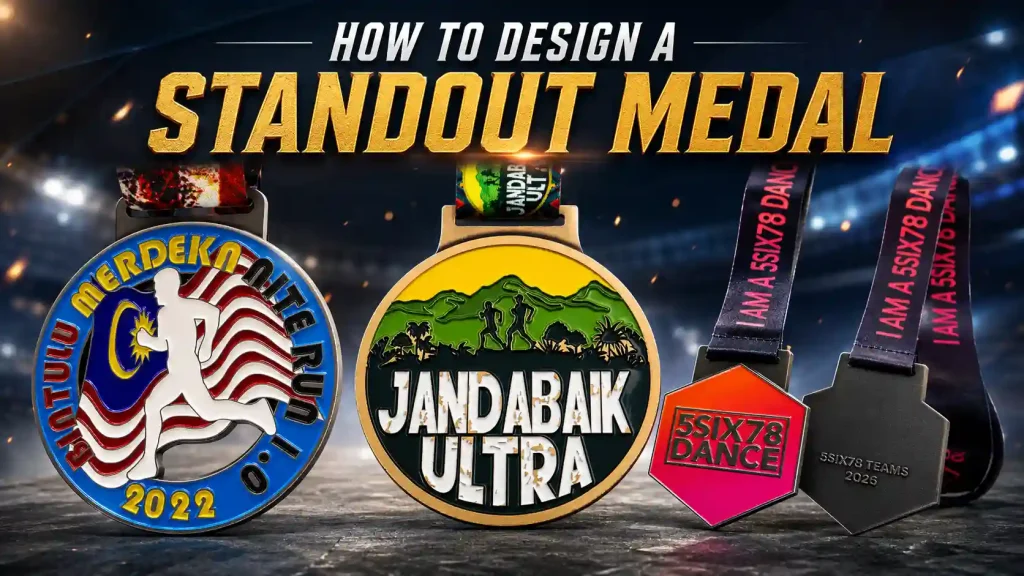
There’s no doubt that a unique medal can help your event stand out. It can also be a great way to promote the event and attract more participants and sponsors.
If you don’t have any design experience, getting started may feel a little overwhelming. Still working out what your medal should look like?
Follow our design steps and let’s get started!
Step 1: Decide What Goes on the Front and Back
Before you start choosing the shape, colors, or finish, figure out what information belongs on each side of the medal.
A simple way to divide it is:
Use the front to identify the event. Use the back to record the achievement.
Front: Make the Event Easy to Recognize
The front should feature the details people need to see first, such as:
- Event name or logo
- One strong visual element
- City landmark or local symbol
- Event year
- Key wording such as “Champion” or “Finisher”
For a marathon medal, that could be a runner, a race route, or a local landmark. A soccer medal might feature a ball, stadium, or trophy. For a school competition, the school logo or mascot is usually the strongest choice.
Try to build the design around one main visual. Adding the full date, race distance, sponsor logos, participant name, and every other detail to the front will only make it harder to read.
Back: Record What the Medal Was Awarded For
The back is a better place for the supporting details, including:
- Event category or race distance
- Award level or finisher status
- Event date and location
- Recipient’s name
- Placement, score, or finish time
- Organizer or sponsor logos
- A blank area for laser engraving
Details that change from person to person—such as names, bib numbers, rankings, and finish times—usually belong on the back. When engraving is needed, leave a smooth, open area for it from the beginning.
Not Sure Where Something Should Go?
Ask these three questions:
What best represents the event?
Use that as the main feature on the front, whether it is the event logo, a landmark, a mascot, or a trophy.
What is the medal being awarded for?
Wording such as “5K Finisher,” “First Place,” or “10 Years of Service” can go on either side, depending on how important it is to the overall design.
Which details are different for every recipient?
Names, times, numbers, and rankings should normally stay on the back so they do not take over the main design.
A Simple Front-and-Back Layout
Front
Event logo
Main artwork
Austin Half Marathon 2027
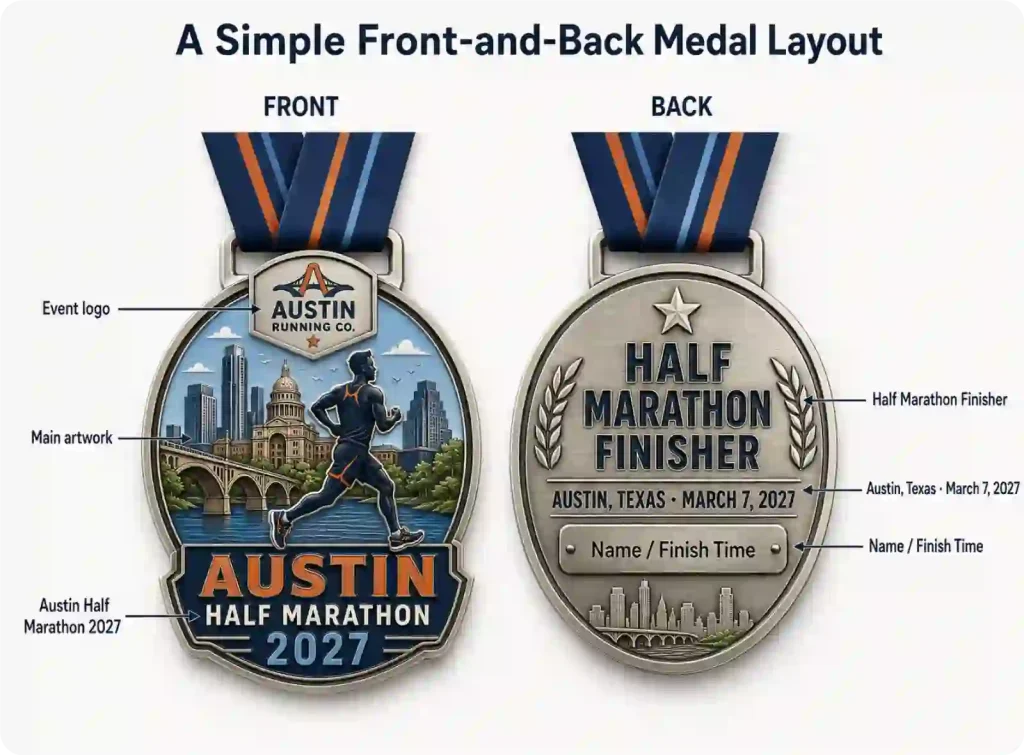
Back
Half Marathon Finisher
Austin, Texas · March 7, 2027
Name / Finish Time
Make Sure the Text Will Actually Be Readable
A medal design may look clear on a large computer screen but become difficult to read once it is reduced to its final size. Small lettering, tight spacing, and thin lines can disappear or blend together during production.
Before approving the artwork:
- Review it at the medal’s actual size
- Remove repeated or unnecessary wording
- Make sure small text, thin lines, and engraving areas are suitable for production
You can also design the front only and leave the back blank. That’s an easy way to keep the cost down.
Step 2: Choose the Medal Shape
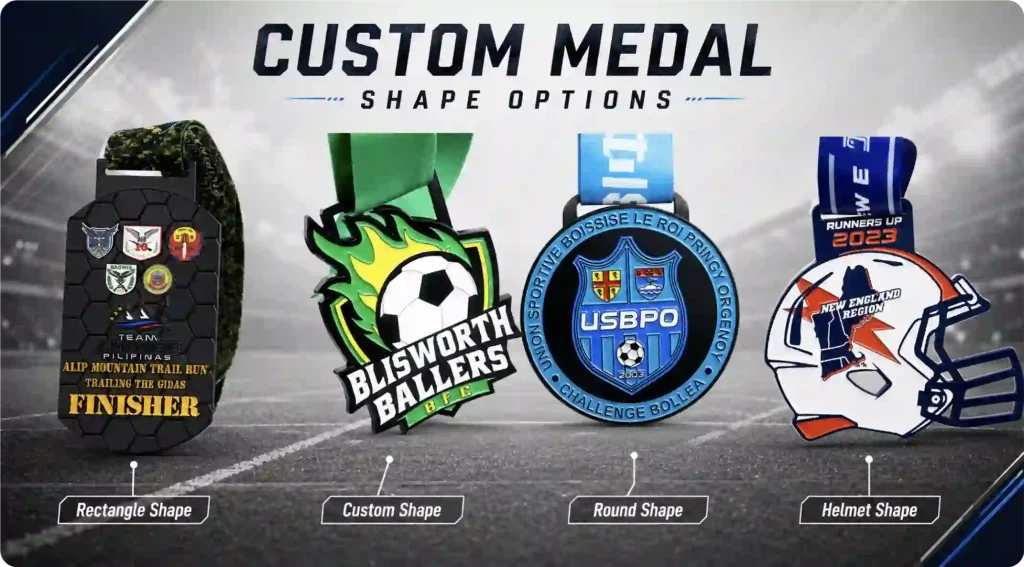
Round is the most common medal shape because it gives you plenty of room for artwork and text, and it works well for almost any competition or award event.
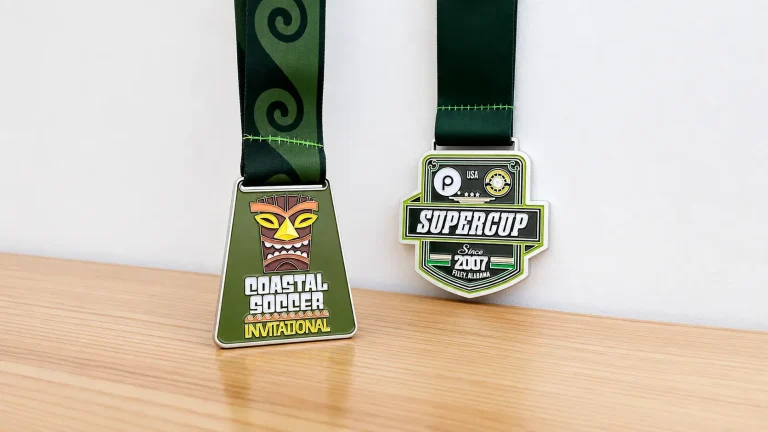
That said, your medal doesn’t have to be round. A custom shape can follow the event logo, mascot, local landmark, piece of sports equipment, or even the race route. A soccer medal, for example, could be shaped like a jersey or shield, while a running medal could feature a city skyline or local landmark.
Custom shapes are easier to remember, but avoid overly complicated outlines. Make sure there’s still enough room for the main artwork and any important text.
Step 3: Choose the Right Production Method
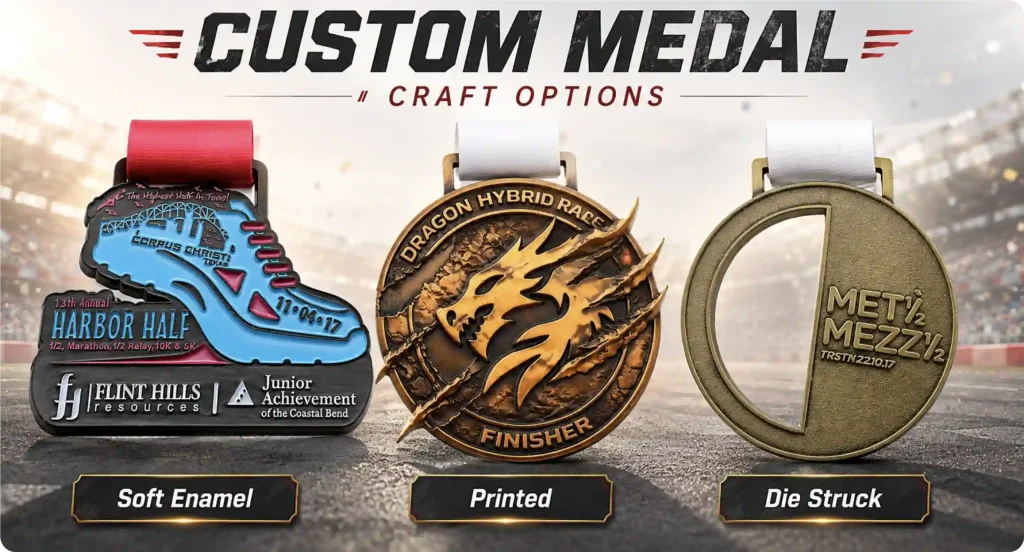
Once you’ve chosen the shape, the next step is deciding how the medal will be made. The three most common options are enamel, printed, and die-struck medals.
Start with the part of your design that matters most: bold color, fine detail, or raised metal texture.
Simple Artwork and Solid Colors: Choose Enamel
Enamel works well for logos, lettering, and solid blocks of color. Thin metal lines separate each color, keeping the design clean and easy to read.
Soft enamel has a slightly recessed texture and is usually the more budget-friendly option. Hard enamel has a smooth, polished surface and gives the medal a more refined finish.
It’s a practical choice for school competitions, sports tournaments, races, and company awards.
Gradients, Photos, or Detailed Artwork: Choose Printing
Enamel is best for solid colors, so it may not reproduce gradients, shadows, photographs, or detailed illustrations very well.
UV printing can capture those details much more accurately. It works especially well for photo-based designs, complex mascots, flames, landscapes, and city scenes.
Raised Figures and Metal Detail: Choose Die-Struck Relief
Die-struck relief is a good choice when you want the metal itself to carry the design.
A 2D relief works well for logos, text, and clear raised and recessed areas. A 3D relief adds rounded depth, making it better for faces, animals, trophies, muscles, and architectural details.
Keep the medal size in mind. The more detail you add, the more space the design usually needs to stay clear.
You Can Combine Methods
Some medals use more than one process. For example, you might use enamel for the logo, UV printing for the background, or 3D relief for a central figure.
The goal isn’t to add as many effects as possible. Choose the process that makes the most important part of your design look its best.
Step 4: Choose the Metal Finish
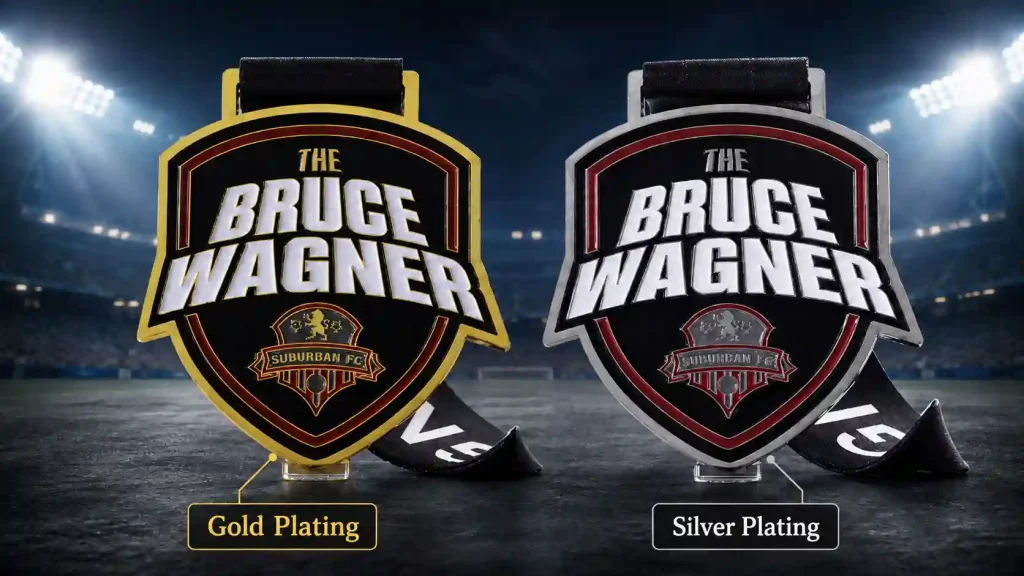
The finish, also called plating, determines the color and overall look of the medal’s metal areas.
If you don’t need different finishes for each placement, choose one that fits the design. Black nickel gives the medal a more modern look, while antique gold, silver, and bronze work well for classic or commemorative designs.
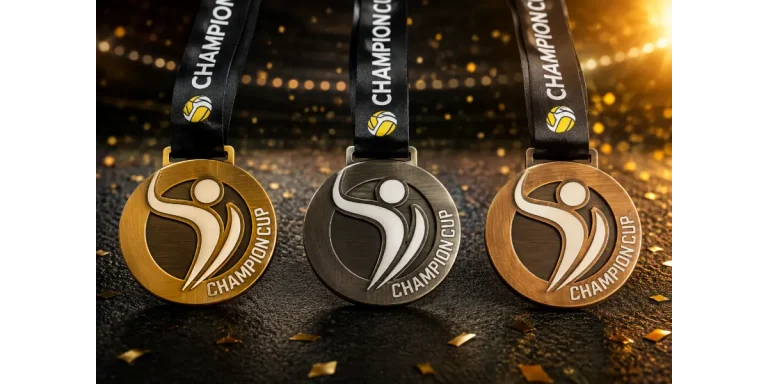
To separate first, second, and third place, gold, silver, and bronze plating is the easiest option. You can also pair each finish with different enamel colors to make the award levels even easier to tell apart.
The main thing is to choose a finish that works well with the artwork and the event theme.
Step 5: Make the Ribbon Part of the Medal Design
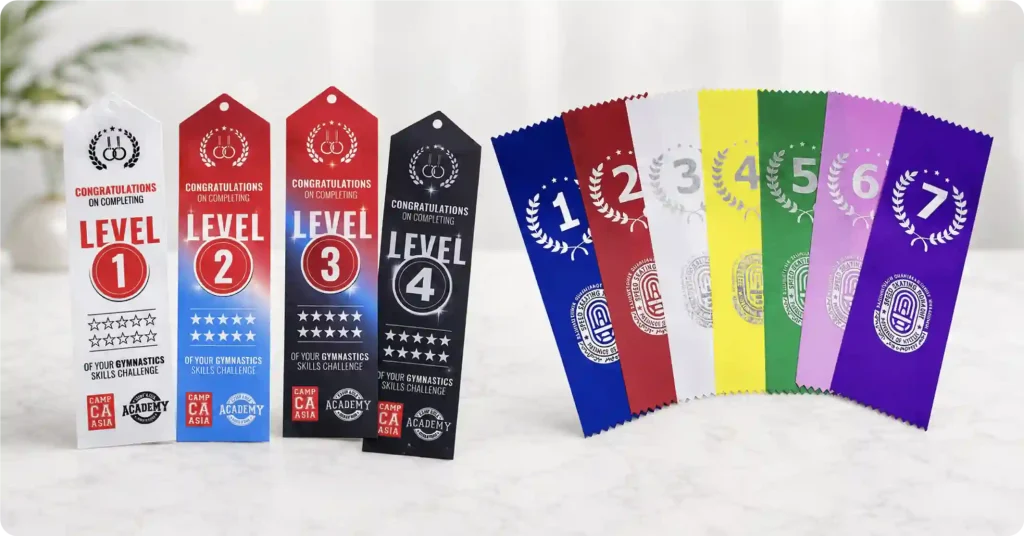
It’s best to design the ribbon at the same time as the medal instead of choosing a color at the very end. At the event, the ribbon and medal will appear together in photos, so it’s easy to notice when they don’t match.
Start with colors from the event logo, school colors, or brand palette. If the medal already has a lot of color, keep the ribbon simple. If the medal uses antique gold, antique silver, or another mostly metallic finish, a brighter ribbon can add a nice contrast.
You don’t need to fill the ribbon with too much information. The event name, logo, year, or race distance is usually enough. Simple text and logos work well with screen printing, while gradients, full-coverage artwork, and detailed color designs are better suited for heat transfer printing.
Size matters too. A larger, heavier medal usually looks and feels better with a wider ribbon, so the finished piece feels balanced and comfortable to wear.
Other Design Ideas
A medal doesn’t need complicated artwork to feel unique. Sometimes, changing the structure makes a bigger difference.
You could cut out part of the logo, year, or city skyline, or add a spinning piece in the center. These details make the medal more memorable and give participants something special to keep.
One standout feature is usually enough. It keeps the design clean and makes the budget easier to manage.
Make Your Event More Memorable with a Custom Medal
A successful event is about more than keeping everything on schedule. The details people remember afterward matter too.
A medal designed around your event gives participants something meaningful to take home. It can also help your event stand out in award photos and social media posts, leaving a stronger impression on participants, sponsors, volunteers, and the local community.
Use the steps above to work through the design, from the front and back artwork to the finish and ribbon.
Ready to order? Send VeperPins your logo, sketch, or ideas. We’ll help with the artwork, recommend the right options, and handle the project through production and delivery. We’ll also help you avoid unnecessary extras so you can get the best result without going over budget.