Table of Contents
Custom patches are commonly used for clothing brands, hats, band merch, club uniforms, team gear, event giveaways, as well as personal jackets and backpacks. Unlike traditional embroidered patches, woven patches are better suited for small lettering, fine lines, complex logos, and more refined designs.
Instead of using thicker embroidery threads to create a raised texture on the surface, woven patches use finer threads to weave the artwork directly into the fabric. The finished patch has a smoother, lighter feel, with clearer details and sharper text, giving it a cleaner and more polished look.
Now, follow VeperPins to learn how woven badges are made.
Can I Make Woven Patches at Home?
Technically, yes — you can make them at home if you have a loom and know how to weave small, detailed designs. But for most people, the honest answer is: probably not.
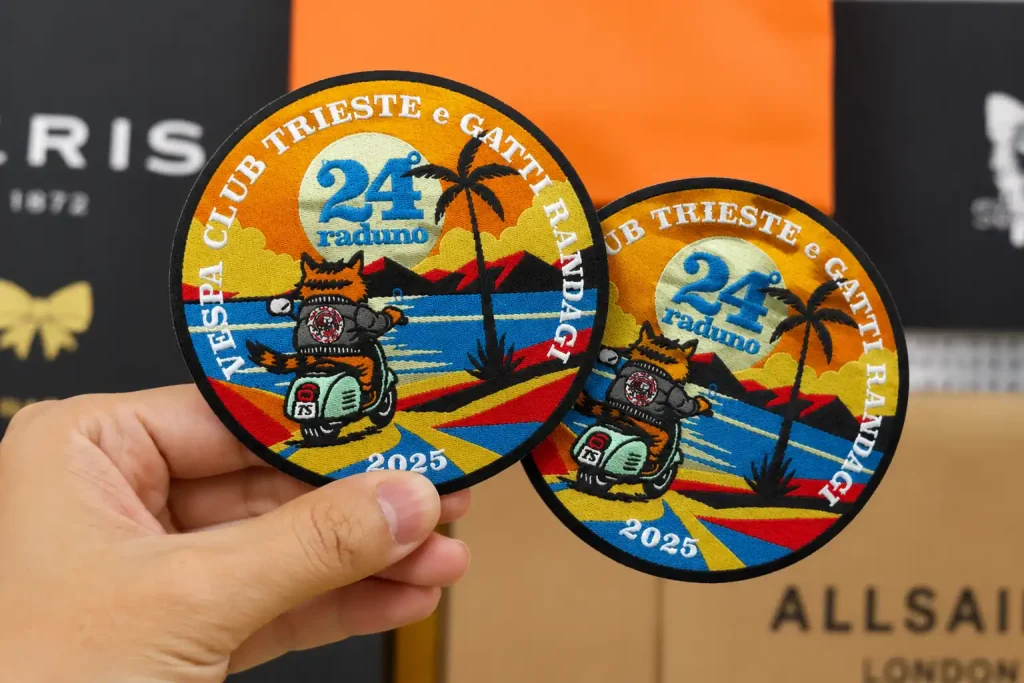
Real woven patches require professional weaving machines, digital artwork setup, fine threads, cutting, border finishing, and backing. At home, you might be able to make embroidered patches, printed patches, or simple hand-woven samples, but they usually won’t look as clean, flat, detailed, or durable as factory-made ones.
But don’t worry — VeperPins can help turn your design into custom woven patches. Just follow the steps below, and we’ll make the process simple.
Create Your Woven Patches in 4 Simple Steps
Step 1: Start with a Practical Design Idea
Anything that looks polished starts with good design. But for woven patches, a unique style alone is not enough. The design also needs to be clean, balanced, and realistic for production.
Here are a few design tips that usually lead to better results:
- Keep text readable
If the text is too small or there is too much of it, it may be hard to read on the finished patch. - Use clear lines
Details are fine, but try not to make the artwork too crowded. - Choose clean colors
Strong color contrast helps your logo and text stand out more clearly. - Avoid heavy gradients
Gradients and photo-style artwork usually work better with printed patches. - Pick the right size for the use
A patch for a hat, sleeve, jacket, or backpack will not always need the same size. - Simplify complex artwork when needed
More detail does not always mean a better patch. Clean, clear artwork often looks more professional.
Tip: Not a designer? No problem. You can send us your idea, sketch, logo, or reference image, and our design team can help turn it into production-ready artwork.(sales@veperpins.com)
Step 2: Choose Your Custom Options
Once you have a good design direction, the next step is choosing the details for your patch. You do not need to understand the full production process. Just think about how the patch will be used, then choose the right size, shape, colors, border, and backing.
- Size
Smaller sizes work well for hats, sleeves, and chest logos. Larger sizes are better for jacket backs, backpacks, team patches, or statement designs. - Shape
Round, square, and shield shapes are classic choices. If your logo or artwork has a special outline, you can also choose a custom shape. - Colors
Clear color contrast is usually best, especially if your design includes text or small details. If your artwork has complex gradients or a photo-like look, printed patches may be a better fit. - Border
Common border options include merrowed border, stitched border, and laser-cut edge. Simple shapes often look great with a merrowed border because it adds a thicker, classic edge. For custom shapes, laser cutting gives the patch a cleaner outline. - Backing
Sew-on backing is best for long-term use. Iron-on backing is easy to apply. Velcro works well for uniforms, tactical gear, and removable patches. Adhesive backing is better for temporary use, samples, or display purposes.
Step 3: Find the Right Supplier
Once your design is ready, you can send it to a supplier for review. Most suppliers will quote based on the size, quantity, colors, backing, border style, and any special details. You can usually expect a reply within 12–24 hours.
After you approve the quote, the supplier will prepare a digital proof before production. This lets you check the artwork, text, colors, size, shape, and border details before the patches are made.
A good supplier does more than just give you a price. They should also help you understand whether your design is a good fit for woven patches and point out any details that may need to be adjusted before production.
Step 4: Production and Shipping
After the order is confirmed, production begins. The usual production time is around 18–20 days, depending on the order quantity, artwork details, and finishing options.
Once everything is finished, your patches will be carefully packed and shipped using your selected delivery method. After that, all you need to do is wait for the finished pieces to arrive.
Benefits of Woven Patches
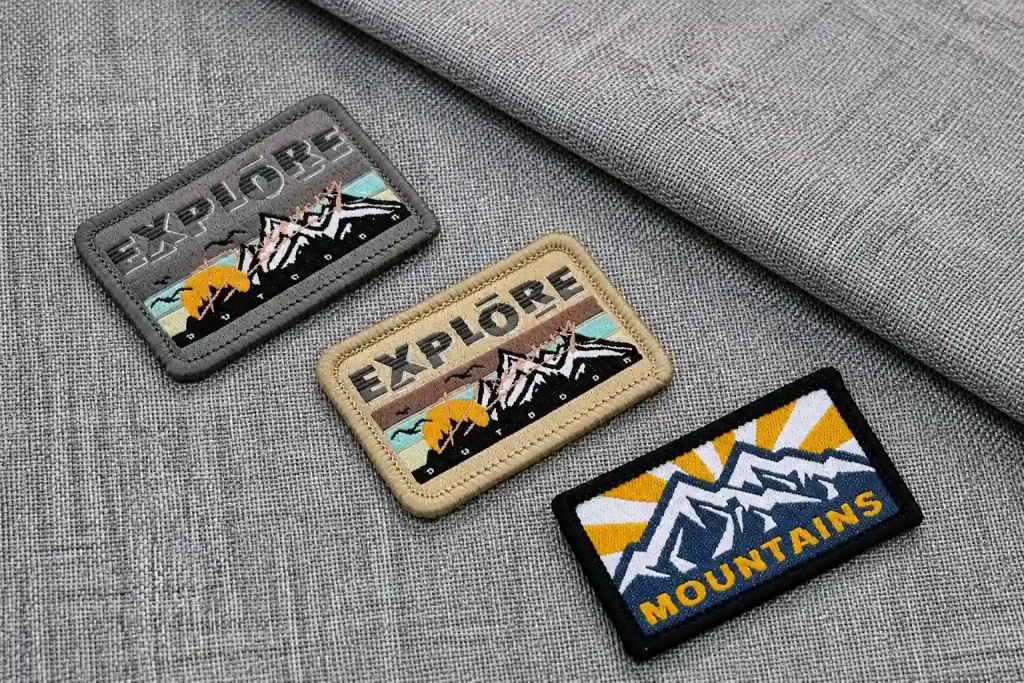
- Small text looks clearer and is less likely to blur together.
- Fine lines and detailed logos can be reproduced more accurately.
- The surface is flat, so the patch looks cleaner.
- They are lightweight and thin, so they do not feel too bulky on hats, jackets, or bags.
- Great for clothing brands, hat logos, band merch, school clubs, and event patches.
- The finished look feels more refined, especially for designs that need a clean, sharp, and premium appearance.
- If your design has a lot of text, borders, or small details, woven patches are usually a safer choice.
Create a Premium Patch with VeperPins
A good design should do more than look nice on screen. It should stay clear, clean, and sharp once it is made.
Whether it is for a brand, event, team, or merch collection, VeperPins can help you choose the right size, backing, and finish.
Send us your artwork or idea, and we will help turn it into clean, detailed, and polished custom woven patches.


